Create first Zap with Zapier and Webhooks
A Zap, at Zapier, is an automated workflow that connects your applications and services. Each Zap consists of a start trigger and one or more actions that are executed when the condition of the start trigger is met. When your Zap is active, it performs the action steps each time the trigger event occurs.
Create a Zap which is triggered by a Webhook
If you do not yet have an account with Zapier, you can create a free account with Zapier.
After you have logged in at Zapier, click on "Make a Zap" in the right main menu
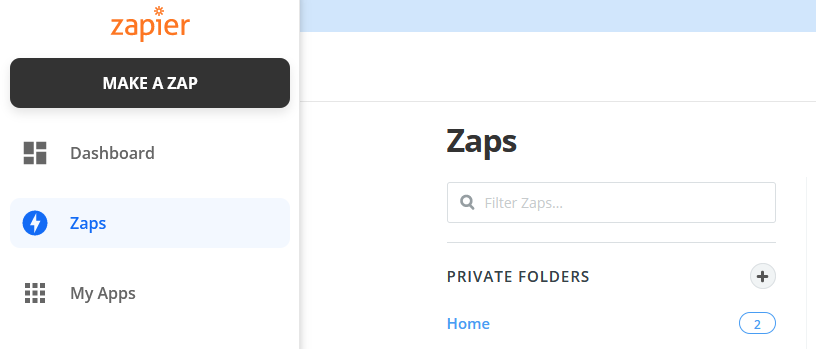
This will open the settings for your new Zap. In the upper menu bar you can give your Zap a name. You can choose any name you like.
![]()
Create Trigger Event
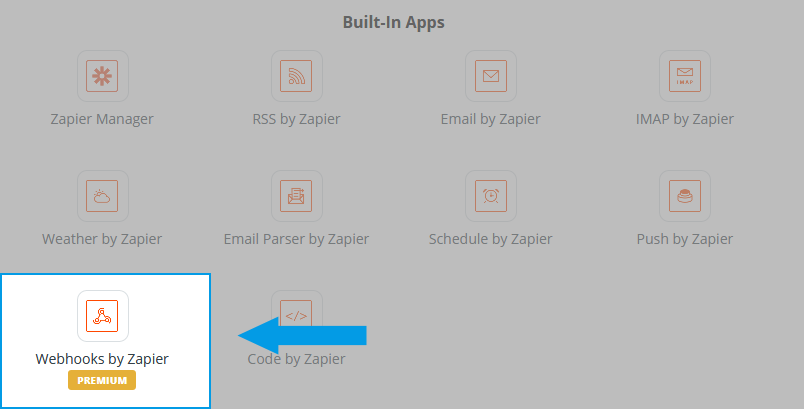
In the first section ( "1. When this happens ..." ) select "Webhooks by Zapier" under "Built-In Apps". Webhook Apps are not included in the free plan, but can be used during the 14 day trial period.
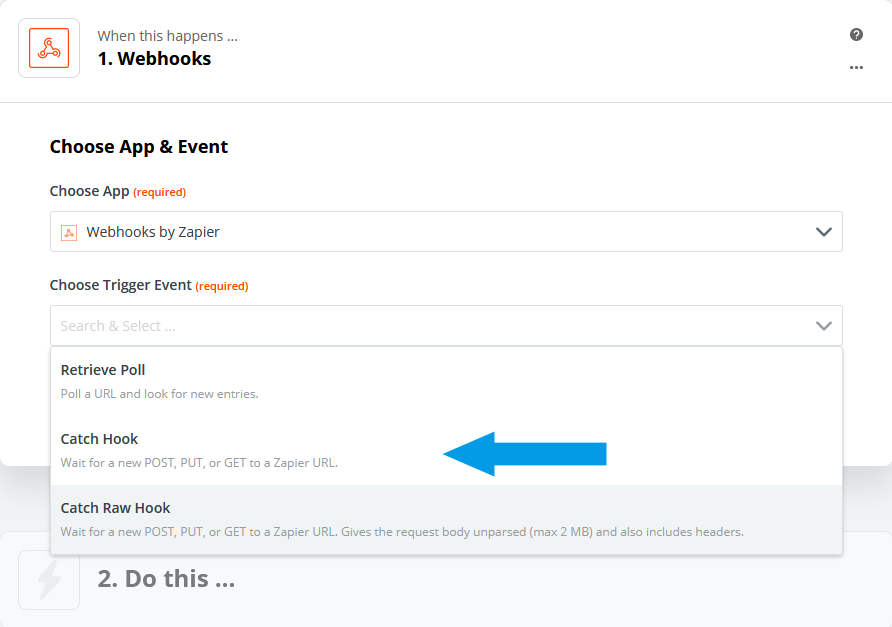
Now that you have selected Webhooks, you must set a trigger event to tell Zapier how to trigger your Zap. Depending on what you want to do you can choose between 3 possibilities. Retrieve Poll, Catch Hook or Catch Raw Hook. In this tutorial, we choose Catch Hook.
When you have selected your trigger event, click the "Continue" button to customize your webhook. In this step, Zapier now creates the URL to which you can send your events. You can make further settings, but we will not go into this tutorial further. Copy this URL and click on the button "Continue".

You can now do a test but we will skip this step by clicking on "Skip Test" to get to the 2nd section ( "2. Do this ..." ).
Select action
In section 2 you have to tell Zapier what to do when something is received via the webhook. To explain this step we will send an email with Gmail when our Zap Trigger Event is triggered. This is just an example. You can, of course, create your own action. You can find more information in the Zapier Help Center
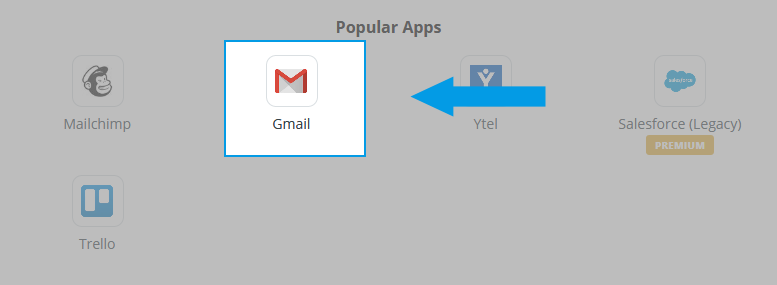
Now that we have chosen Gmail, we select "Send Email" as our event in the next step and then click on "Continue".

Now you connect to Gmail by clicking on "Connect with Gmail" and selecting your account. The permissions must be accepted in order for Zapier to send emails. Once you have clicked on "Continue", you will be able to change all your email data. As a last step you can now test your Zap. Click on "Test & Continue". In our tutorial we will skip this test and click on "Skip Test".
Now click on "Done Editing" and your first Webhook Zap is ready and you can now send your first data to this Webhook and start your automated workflow.